
How to PROPERLY Bench Press for Chest Growth (5 Steps)
See massive gains in your chest. Avoid injuring your your shoulders and elbows. How? By (finally) learning how to properly do the bench press. In 5 easy steps.
The bench press is the GOAT of upper body exercises.
Do your bench press with proper form, and you’ll see massive gains in your chest, as well as your shoulders and triceps.
But do your bench press wrong, and even if it doesn’t happen right away, you risk seriously injuring your shoulders and elbows to the point where you may never be able to bench again...
But don't worry, mastering the perfect bench press form is actually quite simple.
I will show you how in 5 quick, easy steps.
Step 1: Setup Your Bench Press
The most important part is step 1, setup.
The bench press involves a fixed back position against the bench and a fixed hand position on the bar. This can force your joints into positions they shouldn’t be in.
How To Find The Perfect Bench Press Grip For You
Preventing this starts with your grip width.
The closer you grip, the more your triceps will be involved. While this can be a helpful bench variation to grow bigger arms, we want to maximize chest growth.

To do so, you’ll want to use a relatively wider grip, which research suggests can make your bench a little stronger as well.
But you don’t want to go too wide, as this reduces the range of motion your chest goes through and may also increase the risk of a shoulder injury
To find the perfect grip width for you:
- Lay down on the bench with your arms straight in front of you
- Pull your elbows back until they make a 90-degree angle
- Then, bring your elbows in toward your sides until your thumbs line up with your nipples
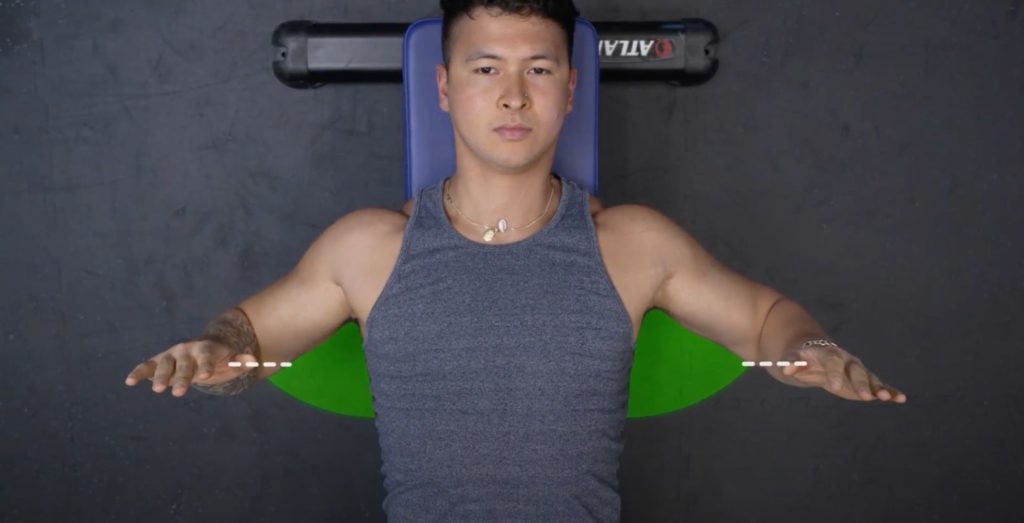
The distance between your hands is your ideal grip distance on the bar.
Do These 3 Things After You've Found Your Perfect Grip
After you find the right grip width:
- Position your body such that your eyes are directly under the barbell. This makes for a smooth unracking in the next step.
- Do not use the "suicide grip". In other words, make sure your thumb isn't on the same side as your fingers when you grab the bar (yep, it's known as the "suicide grip" for a reason). Instead, I'd recommend keeping your thumb around the bar for the most secure bench press grip.
- Walk your feet back under your knees and plant them firmly onto the ground. This creates stability and, in turn, a stronger bench press.
You’re ready for step 2, whole body tension.
Step 2: Create Whole Body Tension
Before you even consider unracking the bar, you need to activate various muscles that will help unlock your bench press strength and keep you stable as you lift.
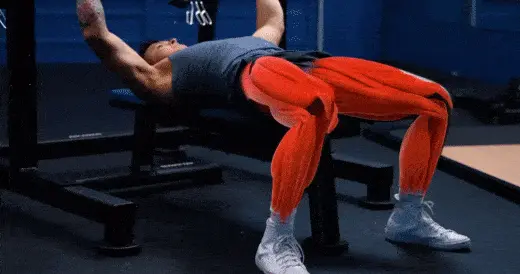
Let’s start with the lower body.
Use your quads to push your feet down into the ground and use your glutes to drive your knees out.
Then, activate your lats by bringing your armpits down to your hips.
You can imagine that there's a band attached to the bar, pulling it back as you try to pull it forward.
Next, we want to create an arch in your upper back.
Some competitive powerlifters take this to the extreme to help them reduce their range of motion so they can lift more weight.
But this particular bench press form may not be the best for growth, and it does require a lot of upper back mobility.
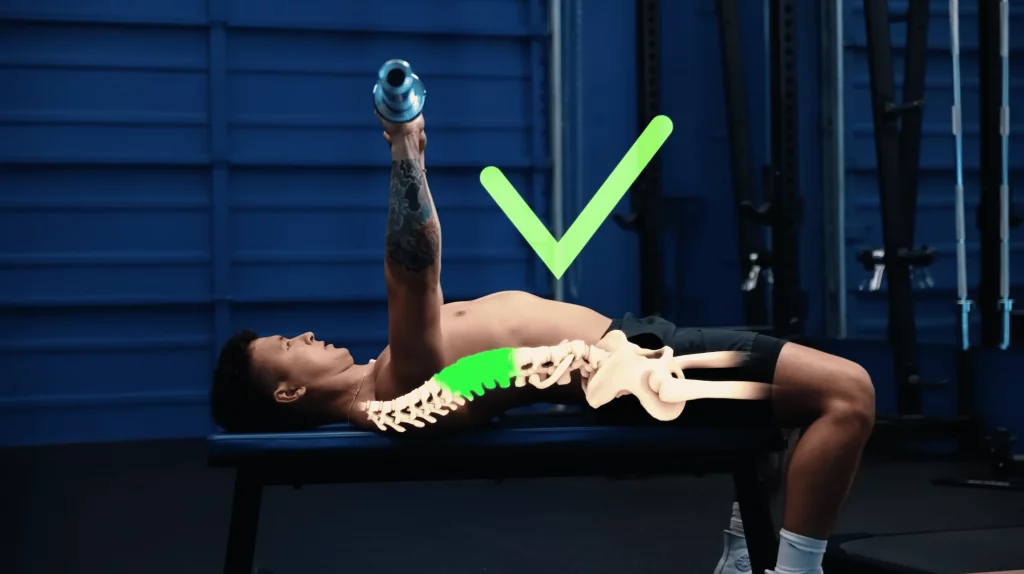
A slight arch, however, is something I’d recommend, as it:
- Can help make your bench press a little more comfortable on your shoulders, and
- May help recruit more of your chest fibers — especially if you sit all day and are locked into a rounded posture
Psst: you can "unlock" your way out of a rounded posture; I show you how in these articles:
- The PERFECT Posture Routine to FIX YOUR SIT (10 Minutes/Day)
- How To Straighten Your Back (5 Best Posture Exercises!)
But to create it, you are NOT just arching at your lower back and sticking your ribs out.
Instead, simply think about opening up and extending your chest. This should create a little bit of space between your back and the bench as a result.
Once you’ve set your arch, straighten your wrists by pointing your knuckles to the ceiling. Then, through your nose take a deep 360 breath into your abdomen, and brace your core as if someone were about to punch your stomach.
You’re ready for step 3, unracking.
Step 3: Unracking The Barbell
This is where most people lose all their tension and mess up their bench press before they’ve even started it.
To avoid this, maintain your arch and stay tight, then push the bar up to get it off the rack.
From there you want to use your lats to “pull” the bar into the starting position right above your shoulders.
Then, re-engage your lats by thinking about bending the bar in half.
You’re ready for step 4, descent.
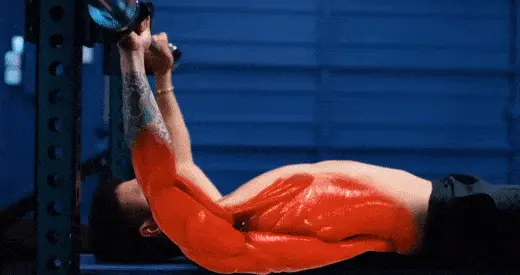
Step 4: Descent
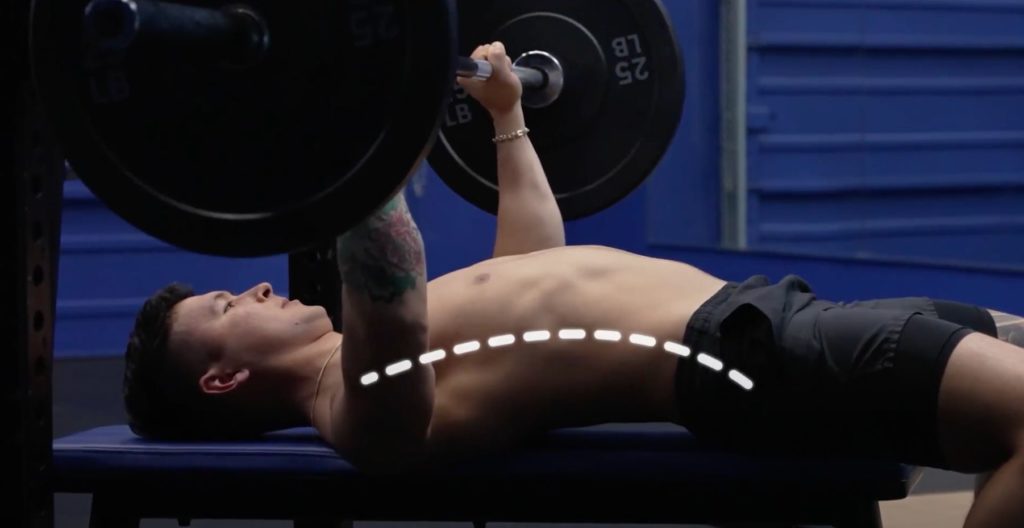
The most common mistake people make here has to do with the bar path.
Unlike the squat and deadlift, during a proper bench press, the bar should not travel straight up and down.
This form can aggravate the shoulder by placing it in a compromised position, and also won’t be the best form to activate your chest.
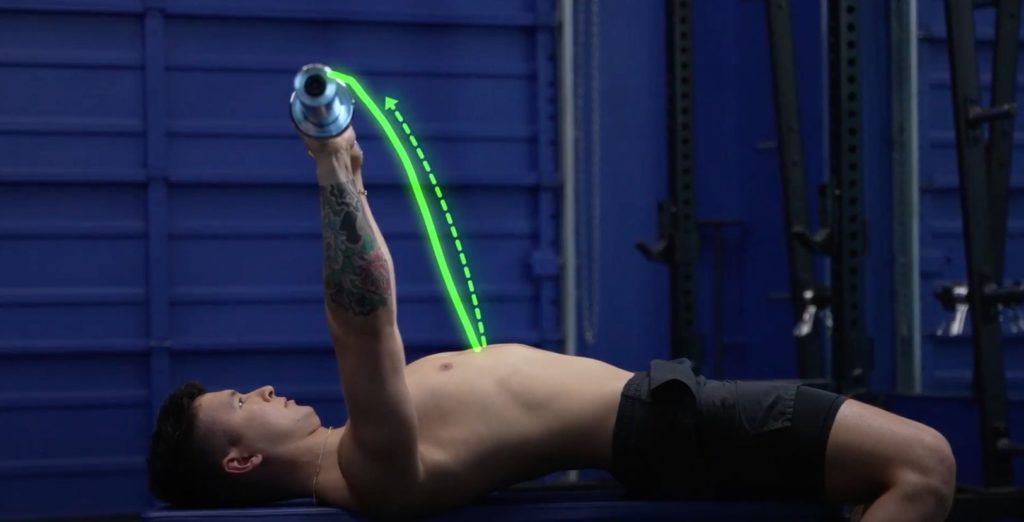
In fact, one well-executed study compared the bar path of “novice” benchers who could bench 225 lbs to elite benchers who were lifting well over 400 lbs. The two lines show the bar path on the way down of the bench press.
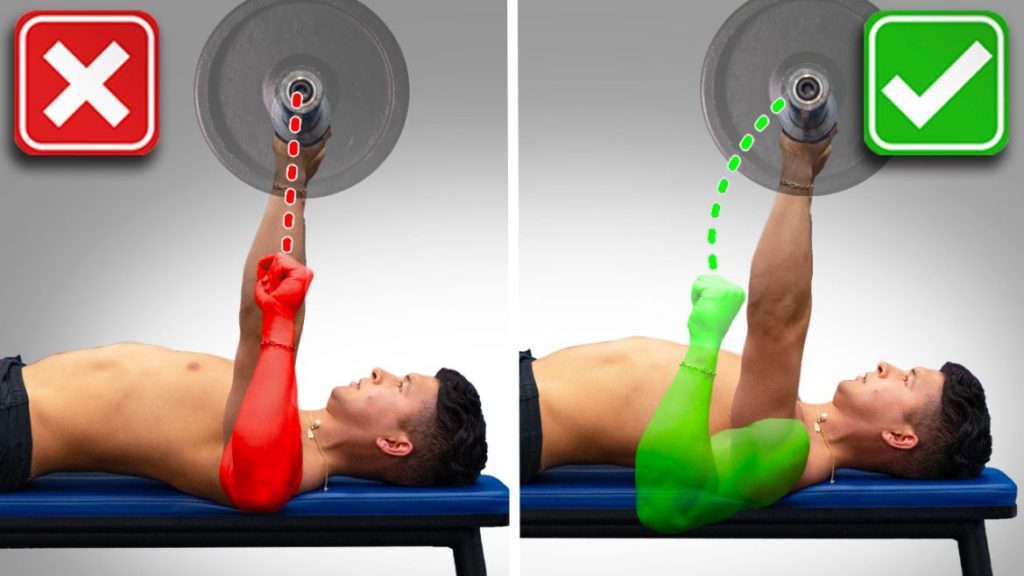
As you can see, in all cases, they don’t bring the bar straight down. They bring it down and slightly forwards starting at their shoulders and going down towards their lower chest.
How To Optimize Your Bench Press Bar Path When Descending For Strength And Growth
But it’s important you do this properly.
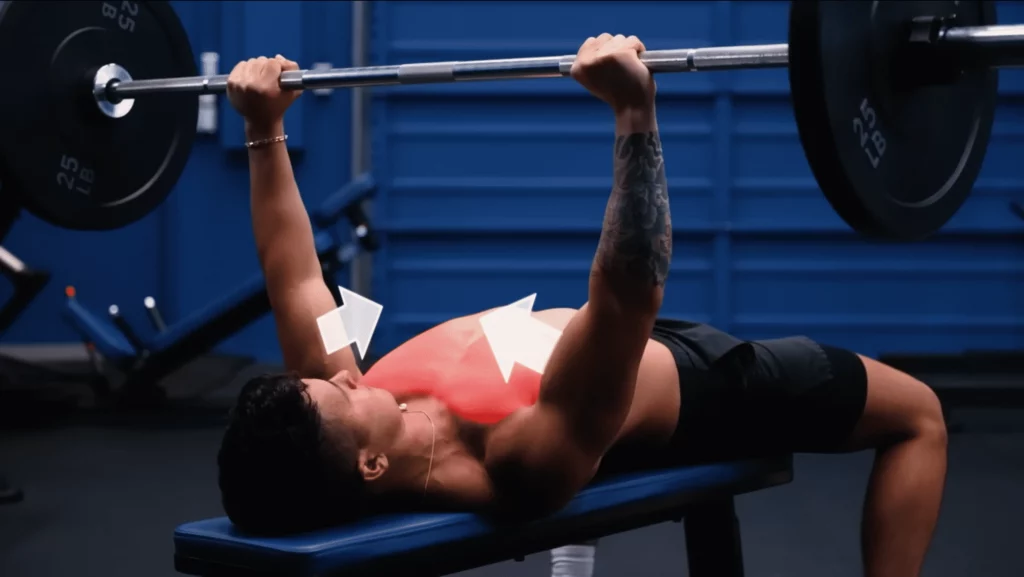
To do so, avoid letting gravity just drop the weight. Instead, actively “pull” the bar down by using your back muscles to squeeze your shoulder blades together.
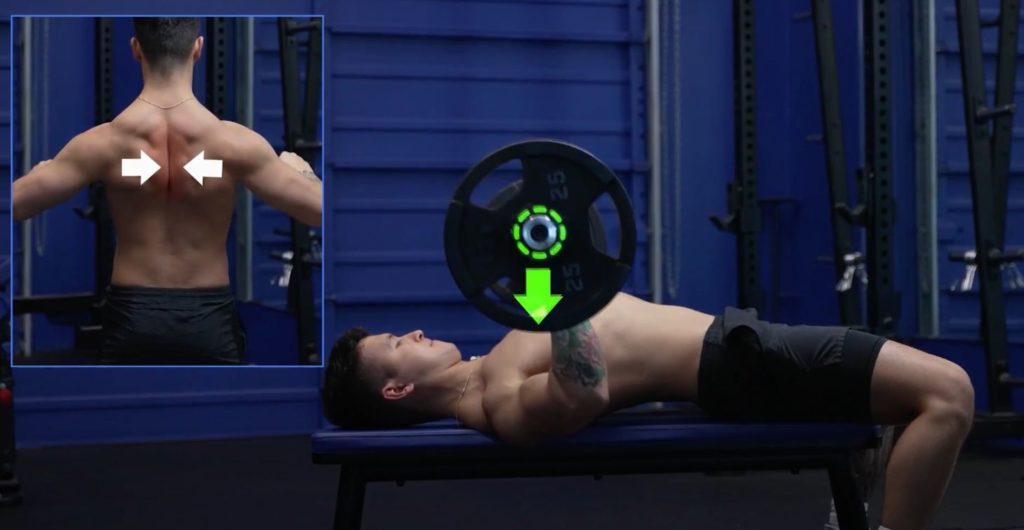
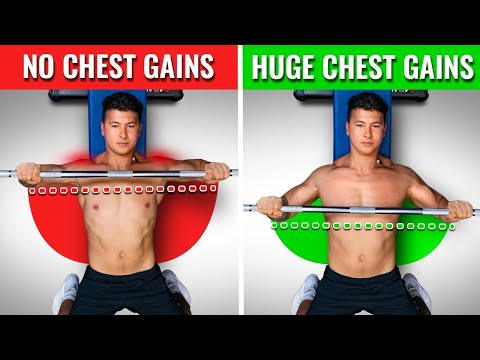
Focus on pulling the bar down towards your lower chest, right around the level of your nipples.
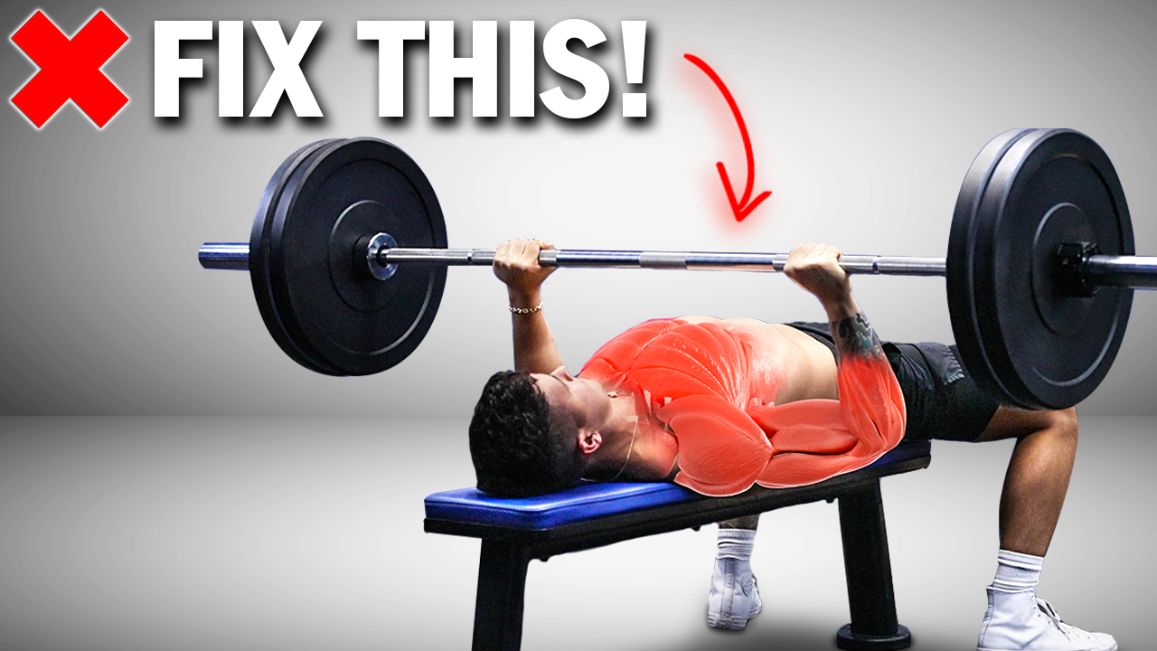
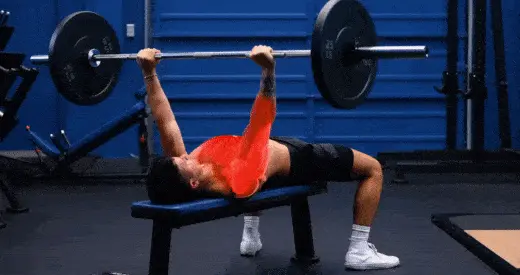
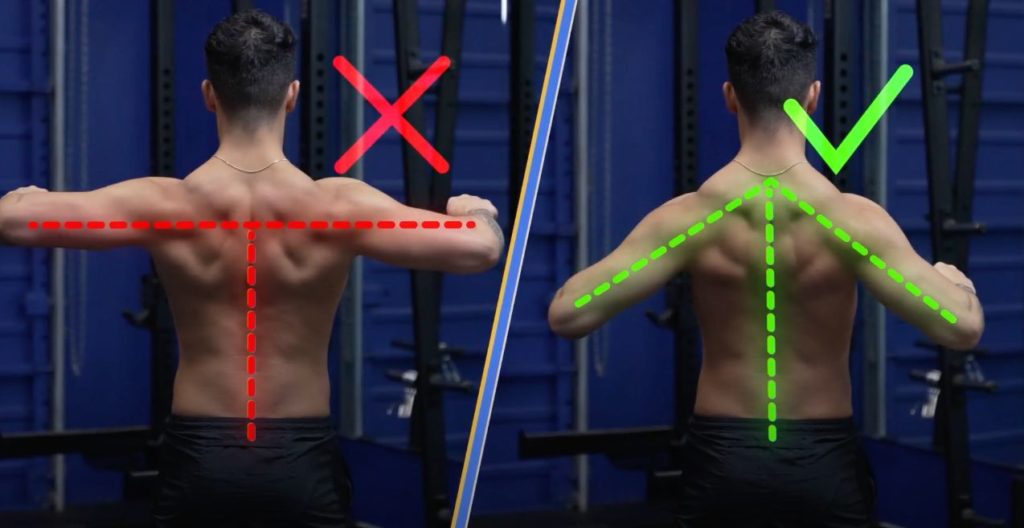
As you do this, your elbows will have to bend. But you want to avoid tucking your elbows too close into the body and also avoid the more common mistake of flaring them out to the sides.
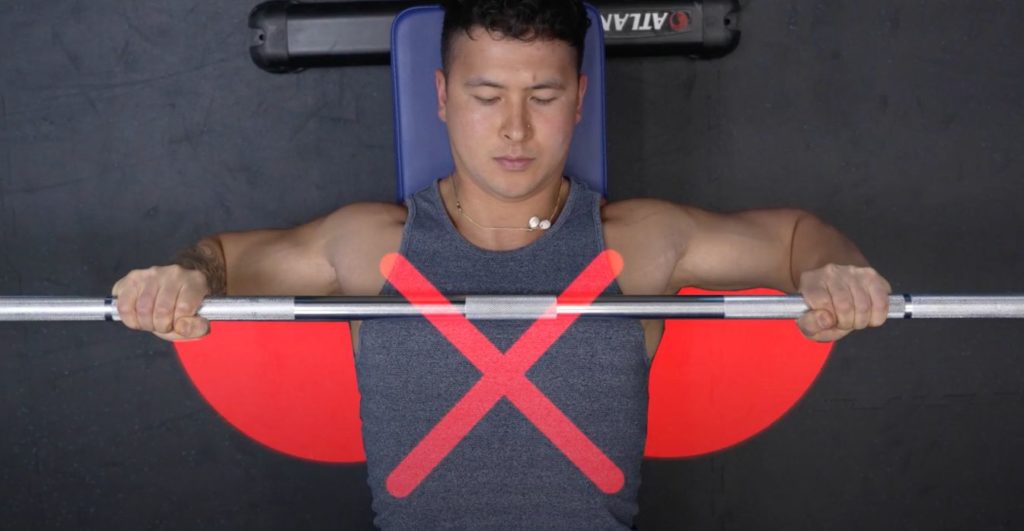
Instead, to maximize chest activation and minimize shoulder discomfort, keep them tucked at about a 45 to 70-degree angle away from your body.

Think “arrow shape” instead of “T-shape”. (Just like how you'd position your elbows on the perfect push up.)
Now as for how deep to go? To maximize growth, you ideally want to touch your chest with the bar.
But some people, especially if they’re locked into a rounded posture, don’t have the required mobility to do this. Their shoulders will roll forward at the bottom which can cause discomfort and potential injury.
In this case, stop an inch or two above your chest or wherever is most comfortable.
But once you do reach the bottom position, your forearms should not be bent inward or outward.
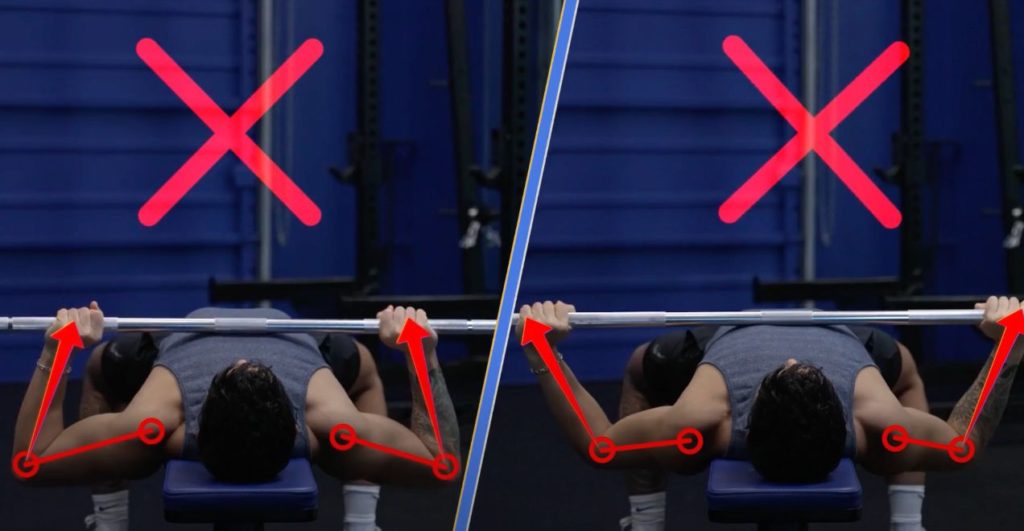
If they are, to minimize discomfort in your joints, try narrowing or widening your grip to get your elbows stacked directly under your wrists.
At this point, the bar should have traveled down and forward and be sitting just above or on your lower chest.
You’re now ready for step 5: ascent.
But guys, if you want to maximize gains and minimize injury, I’m sure you can now see the importance of finding the right form for you and your individual structure. And if you need a step-by-step plan that takes care of all the guesswork for you, just take our analysis quiz below to find the best science-based program for you and your body:
Click the button below to take my analysis quiz to discover the best program for you:
↓
Step 5: Ascent
Quite a bit of recent research has highlighted the importance of the stretched position of an exercise.
In the case of the bench press, the bottom position when the chest is fully stretched is the most important part for muscle growth.
But it’s also the hardest part.
Pause At The Bottom Position To Make Your Chest Work Harder
Most people lose out on chest gains by letting the bar bounce off their chest. Instead, force your chest to work even harder by pausing here for half a second.
But as you do this, do NOT completely relax and let the bar simply sit on top of you. Keep the tension in your legs and upper back and feel your chest working to keep the bar stable.
After the slight pause, use your quads to push your feet forward against the ground as if you were doing a leg extension, and then drive the bar up off your chest.
Drive The Barbell Back Up In A Slight Arc (Not Straight Up!)
But as we talked about earlier, don’t push the bar straight up.
If we take a look at the study mentioned earlier, novice lifters tend to drive the bar straight up off the chest, whereas elite lifters drive the bar up and backward off the chest.
So, although it might feel a little weird at first, try to drive the bar back up towards your head so that from the side view, the bar travels in a slight arc.
To boost chest activation, don’t think about just pushing the weight up.
Try thinking about pulling your biceps in as if you were trying to touch them together.
But as you get to the top, avoid letting your shoulders steal gains from your chest by collapsing your upper body and rounding your shoulders forward.
Instead, keep your chest up by maintaining the arch in your upper back and squeeze your biceps into your armpits until your arms fully straighten over your shoulders.
Exhale through pursed lips as you come to the top, take another deep breath in your stomach, brace, and then control the weight back down for another rep.
The Perfect Bench Press, Done. Why Not Fix Your Form On Other Exercises, Too?
Congrats! You’ve just done the perfect bench press. Let's use this momentum — and fix your forms on the:
- Barbell Squat: The Barbell Squat: How To Do It PROPERLY For Growth (4 Easy Steps)
- Deadlift: How To Deadlift PROPERLY For Growth (5 Easy Steps
Hope this helps!
By the way, here’s the article summed up into a YouTube video: